
Its been a few days since I have posted, and in that time quite a bit has been done around the house. Most important of these is the installation of two of the three counter top pieces. As seen above, we have chosen to use CaesarStone counter top as our counter top material for this kitchen. CaesarStone is a manufactured stone counter top that is made of pulverized quartz. Essentially they pulverize the quartz and then reconstitute it to make a solid color counter top. The adhesive agent they use to get the quartz to stick together also makes it stain resistant (but sensitive to heat). Therefore, the color we chose is Pure White, which is essentially solid white. We are confident in the product's ability to stand up to time from a stain resistance standpoint so it will be quite interesting to see how this will go over the long term as we beat on it.

Here is the kitchen with the two slabs installed. We had to take the doors off the sink cabinet as they were not cut properly by the installers (shocker). We chose to have an under mount sink, and a stainless steel farm sink with a single bowl at that. Its pretty simple and refined if you ask me. We looked at quite a few different sinks and in the end we kept coming back to the farm sink. I am really happy with the clean simple lines on the sink in combination with the counter tops and the cabinet colors. I really cant wait to see the who thing assembled with all of the other items (stove, fridge, lights, and back splash) installed. It should look really good.

Here is a shot of the edge I chose for the counter top. We have a half bull nose edge on the granite in our house now and while I like it, it is not ideal for the more contemporary design of the new house. So, I chose to go with a very simple beveled edge on the counter top. There are not a ton of soft corners and edges in the house, so this should be a good way to tie everything together in the kitchen. This shot also gives you a good idea about the junction of the counter and sink in the front as well. We really wanted the counter top to be over mounted on the sink and I am quite happy we did it this way with just the jutted out portion of the sink not covered by the counter top.

Dual purpose shot here. You can see the window openings that have been cut into the garage now that the rough construction on it is complete. I know it might seem like a lot of windows, but I already owned these windows, so they were going in the garage. The other purpose of the shot is to show the patio area that has been prepped to have cement poured on Monday. We are having a sidewalk poured all the way from the back of the property, past the garage entrance door, and right to the basement entrance of the house. From there we will be laying different sized pads of cement from that sidewalk all the way to the east property line where they will be a 10' x 3' pad laid for a grill enclosure (and maybe a smoker) to be built in the spring. We will be leaving some spaces between the pads of concrete where I will put in some pea gravel. This is being done to allow water to run off under these pads and keep the area from flooding.
With the combination of the windows, the high walls of the deck, and the cement patio with the grill, I am hoping the area between the deck and the garage can have a courtyard feel where we can sit outside and enjoy the warm summers. If things work the way I want next spring, I would like to put a pergola over a portion of the space to further define the area as an outdoor living space.

This is the impromptu tile wall. Originally I purchased this tile for the back splash in the kitchen, but I didn't like how dark this tile ended up looking with dark grout - conceptually, I it wasn't actually installed. We were going to use dark grout as white grout doesn't work very well with a high use kitchen. So, out with the glass tile, and in with the white subway tile in the kitchen. Since I owned this (and it couldn't be returned - which I knew when I bought it) it made sense to put this on the wall in the powder room. As it turns out, it looks pretty good, and should really brighten up that tiny little room.

The trim boards, all dressed up and ready to go. This is what we are going to be using around the windows and on the baseboards. This is just flat "1-by" trim. There will be 4" high trim boards on the baseboards, and 2" trim around the doors and windows with no crown molding at all. We chose to go with the simple and clean design and tried to stay away from the gilded look of crown or detailed molding. It is going to take the carpenter the better part of the week to get this all installed. I really want to see the way the do the trim around the windows as it just doesn't seem to be obvious they way they are going to make it all level.

This is the door choice. Its just primed right now, but these are going to be painted white to match the trim in the house. This door is a new style from Masonite. My original plan was to just go with the slab door, but I really liked this new style. Its simple and straightforward, but has a bit of design to it. The funny thing is there is only one door in the first floor, and we are not using this style of door for that door (on the powder room). These doors will be used in the second floor and basement.

The fence is finally progressing. The steel guy who is building this has been ill and having transportation problems since getting all of the posts in the week we agreed to do the fence. The steel has come up with a good idea to use longer boards to make the fence look more uniform. The ones you see above are the "test" boards that he was putting up to show me what its going to look like. He is now treating all of the boards with a cedar deck stain, and then he will be mounting the boards as such. Ironically, I was never 100% sure that we were on the same page design-wise, but we agreed on the basic materials and colors, and it was just a matter of which way the boards were mounted. This is the way that I wanted it to look.
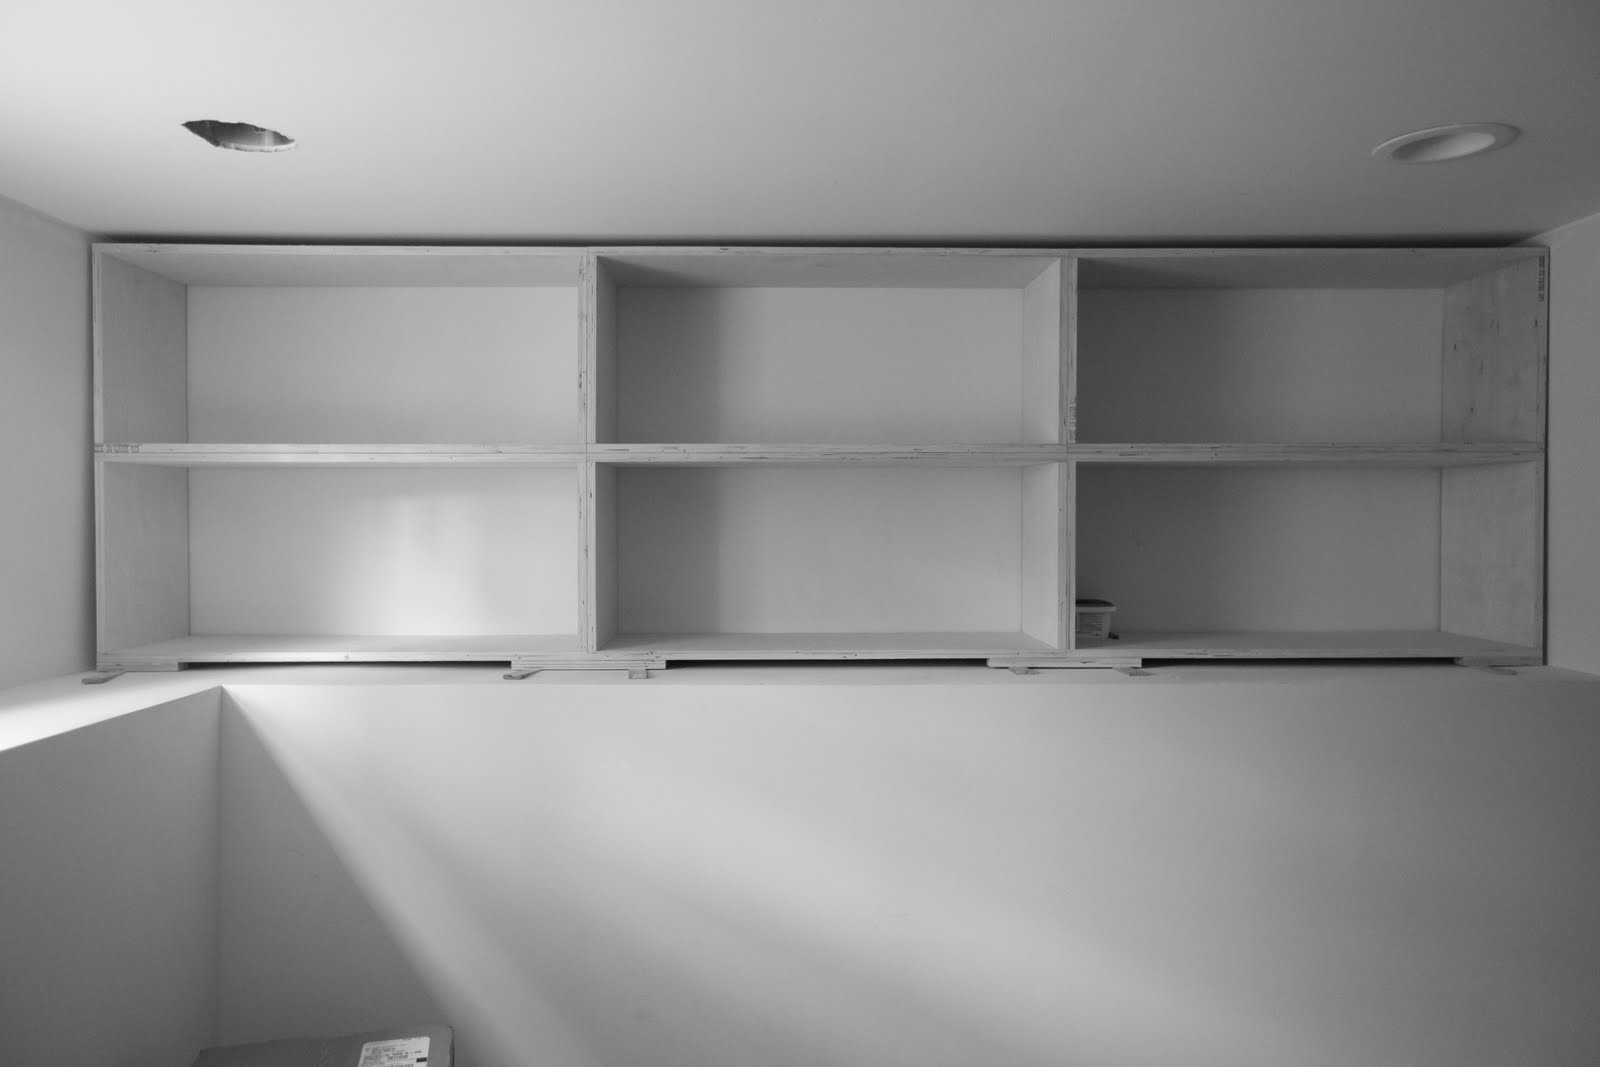
Here is an example of what the finish carpenter is doing in the house. This is a storage area in the main room of the basement. Its going to be handy for all of the stuff a play area should have stored. The carpenter will be doing this, a bench in the mudroom, a bookshelf in the first floor, a bookshelf in the master bedroom, and the front and back doors. So far his craftsmanship looks to be what I was hoping it would be. He is as patient a builder I have seen on the job so far.
 Last but not least, the guest shower. This is tile that we have in our house currently, and this makes up the entire shower (floors, ceilings, and walls) in the guest shower. This is all of the tile we are going to be doing in the basement bathroom since we have the heated cement floors in the whole basement. Now its just going to be a matte of getting the heat to the right temperature and finishing the floors in the bathroom with something that will keep you from slipping all over the place on a wet cement floor.
 Cement, electrical, finishing the counter tops, finishing the tile, doing all of the trim and doors, siding and roofing the garage, sizing the garage door, measuring for all of the custom glass in the house, choosing the lighting for the garage, designing the back fence, getting the awnings up are all on the agenda for next week. Going to be super busy week coming up.
No comments:
Post a Comment