
One of the best parts of the house being this closed to finished - being able to bring the girls over to the house to look around and so we can get some things done. Both of the girls room are as close to complete as any room in the house. We were over at the house yesterday taking a look around, and the girls helped us clean up the cabinets in the kitchen.

The floors have been sanded and have one coat of polyurethane on them. They are finally starting to take shape and part of that is seeing the grain and benefit of the design of the hardwood. This is white oak, so as it ages the floors will get more gray, whereas if you were putting in red oak it would turn more pink. So hopefully these floors will be a bit lighter and quite a bit more gray 5 years from now. With the house being full of neutral colors, the floors could easily age into a color that is more conducive then it is now. I am very interested to see how it goes over time.

Same view, just from the opposite angle. Also, this picture is setup so you can see that there is an inconsistent refection on the floor - that is due to the different pieces of wood absorbing different amounts of the polyurethane. Originally the plan was to but both coats of polyurethane down at once, but we hadnt turned on the furnaces yet and were forced to let the floors cure another day. That made the tile work that was finished yesterday more important to be done then a second coat of polyurethane; which can be done anytime between now and the end.
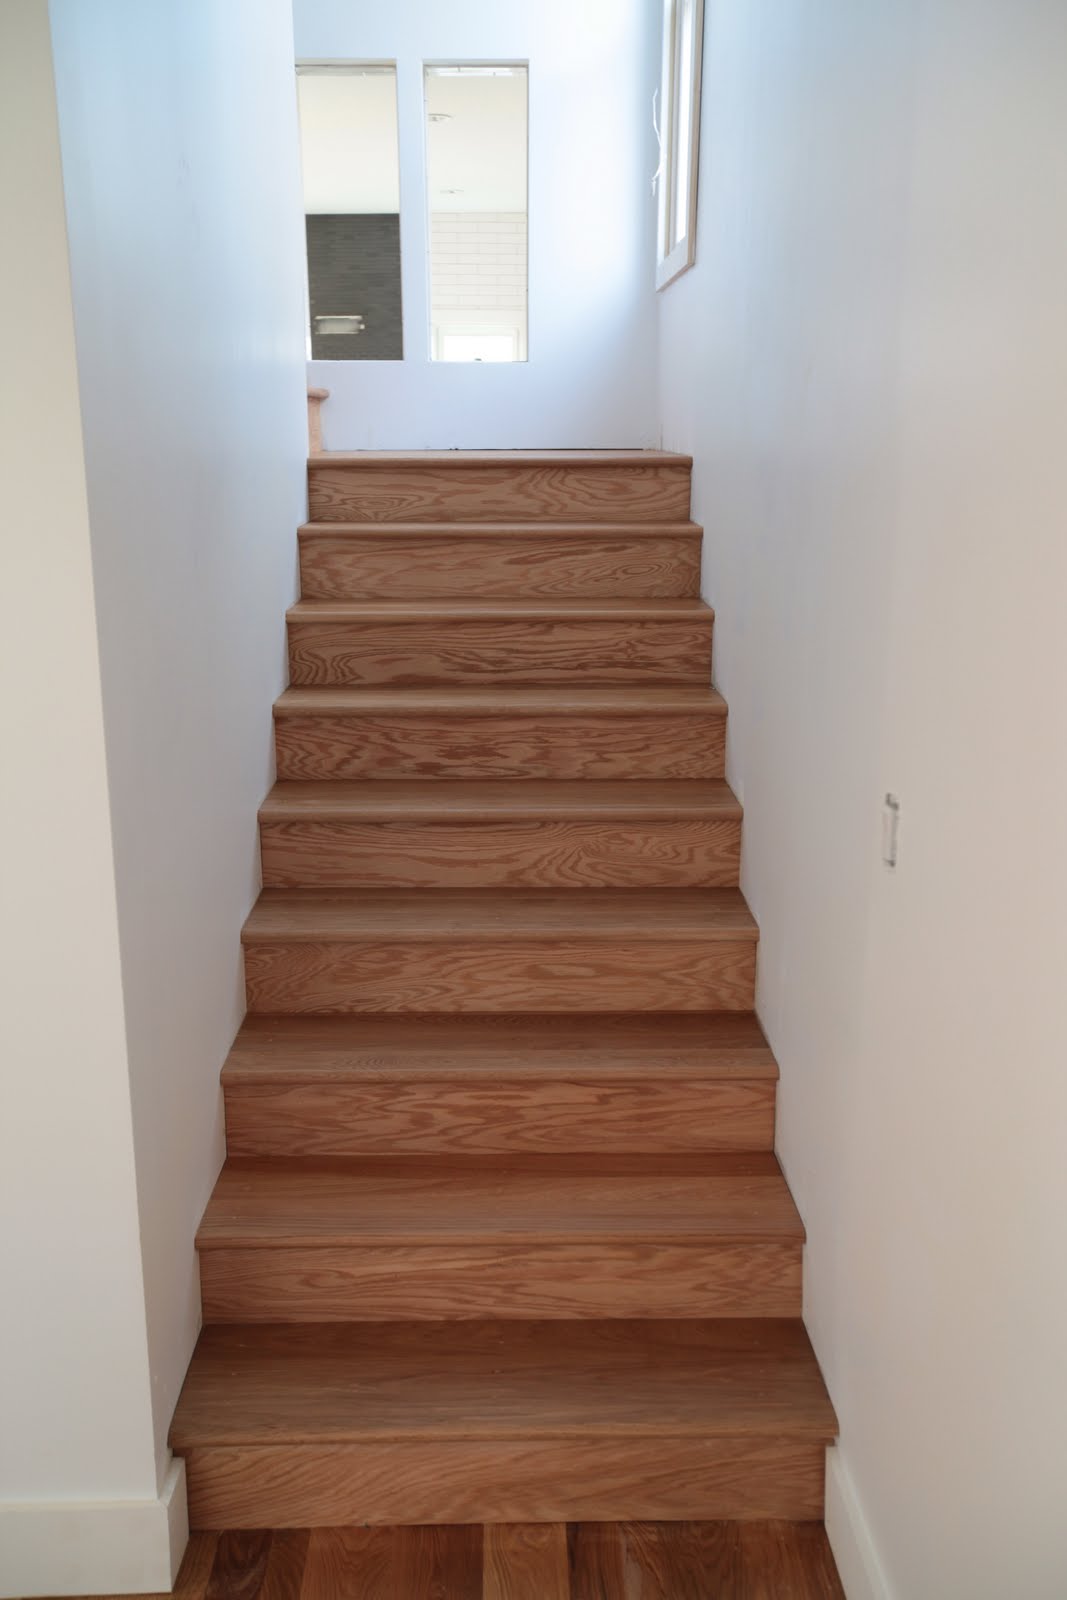
This pictures shows both the finished stairs, and the finish on the stairs. As you can see, the stairs were capped with white oak as well, and we will be putting a handrail down with a carpet on the stair treads to finish them off. We decided to cap them off instead of using a ledger board stringer cap that runs down the sides between the wall and the stairs. I think this look is much cleaner and simpler this way.

Top of the stairs looking down. I am quite happy with the character of the wood in the stairs. I chose to go with #1 grade white oak instead of select or better. The reason I decided to do this was twofold: #1 grade is more prone to inconsistencies and knots which I think add character and its $.20-.30 cheaper per foot so its a pretty simple decision. When this is finished its going to be one of the best spaces in the house I think. Lots left to do here including the chandelier which I have not talked about yet.

Its off angle, I know. I have been taking this same picture over and over and this one came out crooked. I think part of that was having the girls with me. Excuses, Excuses...I know. Either way this is a dramatically changed vantage point over the course of those photos. Now you can see the updated floors and the girls wall colors. Funny how the soft muted pink and purple turned into these vibrant colors. Funnier how we are pleasantly surprised with just how vibrant a color they are. Why not right? Can't think of a reason in the world not to let the girls have their rooms the color of their choosing.

Updated shot of the garage about 95% from completion. All that is left here is the balance of the siding in the gable, put the lights on the outside walls, and to have the corners and window trims painted. The trim around the windows will be black as they are on the house, and the trim on the corners and around the doors will be gray as they are on the house. I just received the lights that go on the north wall of the garage. These are the lights that will make the difference on the patio, and I chose 13" soft white outdoor lights. I am hoping that its going to be enough. The light over the door to the garage is a multi-directional motion sensing light that will have one eye on the back gate of the fence.

Here you can see the fence nearing completion. The door was put on yesterday and should have wood on it yet today, and they began to stain it the cedar colored waterproof stain that I chose. This is the future color of the porch. Note: we have to leave the porch until the spring to be stained. Pressure treated lumber takes something like 6months to cure and its quite normal to wait a minimum of that time before treating or painting the wood. If this is done its the best way to ensure the maximum amount of adherence and protection the application being used affords. Amazing the little things you pick up along the way.

Inside shot of the fence which makes up the dog run. The inside was stained yesterday. When the men are done in here I will come and clean up this space making sure to get all of the nails and shreds of metal that might be in here. From there I will be putting in a plastic barrier pinned on the bottom of the fence and secured into the ground. This barrier will prevent the pea gravel I am going to put down in there from getting pushed out under the fence and into my neighbors property. Its probably going to take a little while, but it will become a solid dog run by next summer.

The kitchen is really coming together. Everything is done with the back splash, the counter top, and pretty much everything with the cabinets (except for two things - cabinets under the sink have to be trimmed, and the kick board under one of the cabinets needs a register vent hole cut into it). As you can see, I put some cardboard on the counter tops in an effort to try and prevent any sort of damage that might accidentally happen in the with the finishing work in the kitchen.

The windows on the north wall are prominent in this photo. I would think that in a little more then a week we will be putting this glass into the space (which will make Jen quite happy). When its done my guess is you will see a recessed window with a black frame on this side, and a nearly flush mounted window framed in white on the stair side. The other thing noticeable in this photo: how uneven the house still is. Look at the line where the ceiling meets the tile. Notice the thicker gray lines at the junction? That is a thick grout line where the tile guy just couldn't cut a piece of tile small enough to cram in there. These sorts of things are inevitable in certain parts of the re-design. However, its a little disappointing that with all of the work we did the ceilings are still not fully level since we used a majority of the pre-existing joists the house was built with.
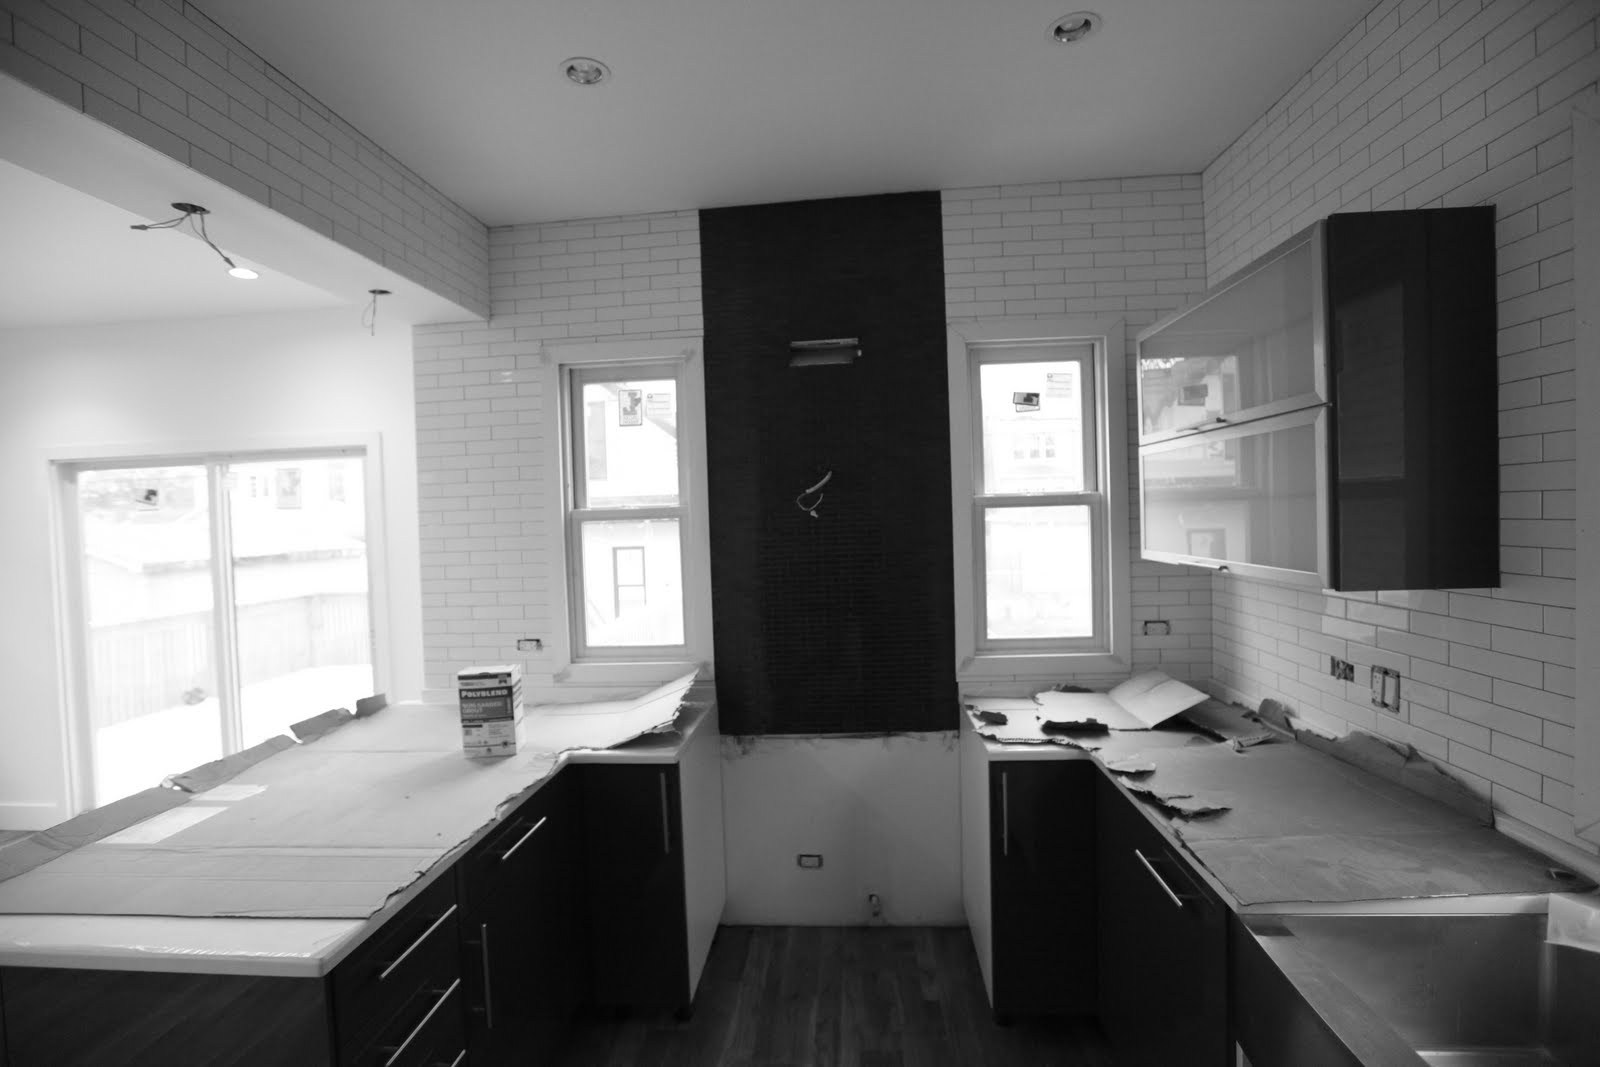
This is the south wall of the kitchen. One of the reasons I took this picture is to show that I extended the tile out onto the soffit to make the whole interior of the kitchen tiled. The white subway tile has its hooks in me and I just cant stop using it :). Tomorrow ABT Electronics will be at the house to put the range into this spot, and the HVAC guy should be putting the vent hood in as well. Its going to look like a real kitchen, and by Wednesday could be a fully functioning kitchen with a faucet as well. I cannot wait to see this range and hook in place as I have been looking at them for 5 months and am ready to see how well they go together.

We are finally moving on the back splash for the master bath wall. After taking the time source the right tile from Dallas (thanks Gaelynn) the tile guy started on that yesterday. There were some fits and starts with respect to the location of the blue tile as a back splash to the sinks, and having a bit less tile then we anticipated. I think in the end this is going to work out better then I had originally planned as it will break up the back splash a bit and contrast really well with the white counter top that will go in.

This is the tile inset close-up. There is just enough blue and gray in the dark colored tile that we are putting up around this blue tile. This was not originally planned to be here, but I decided it made more sense in this space then where we were putting it before. Love the last minute decisions, they are the fun part of this process.

The shower is getting closer to being done as well. I would guess that it will be finished towards the end of the day tomorrow. I really am happy with the way the shower is turning out. Both the finish - it has a matted linen finish - to the size of the tiles being 6x24 are helping the shower to feel open and not bulky. I know its odd to say a shower feels bulky, but to give you the idea, you don't step into it and feel like you are surrounded by tile even though you are. Maybe that will change when the shower door is put in, but for now it feels like its going to be big and open the way I have been hoping.

A look up the wall of the blue tile that is centered on the fixtures in the shower. This will all be grouted with a light silver grout keeping things simple and clean. We really don't want white as it will make the shower very difficult to clean.
Did a ton of work around the house this weekend, and the fence got a lot of work as well. ABT will be delivering the appliances tomorrow, the carpenter will be putting in the vanities and the doors in the basement, the painters will be back to continue on their quest, the HVAC guys should be installing the hot water heater and radiant heat system, and the electrician should be out and running power to the garage.
We are going to try to get quite a bit accomplished in the 3 days leading up to the holiday. We could be down to the last light fixtures, the last of the painting and coat of urethane on the floors, and the final pieces of flooring (shoe) that need to go in along with the custom built stuff.
I am officially going to say December 11th is the goal to be ready to move into the house. We shall see if we can get everything done in time.
No comments:
Post a Comment